The moment you notice your eyebrows looking sparse can feel oddly important. Maybe it’s under the bathroom mirror’s bright light, or in a selfie where your gaze seems less defined. The outer edges look faded, and the familiar arch seems to vanish. Even your go-to brow pencil doesn’t quite help. That’s when the idea of a salon brow lamination might cross your mind—until the thought of making an appointment, the cost, and the chemicals makes you close the tab and rinse your face instead.
The Subtle Power of DIY Brows
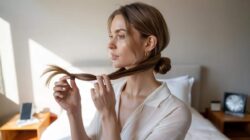
There’s something soothing about standing at your bathroom counter, late at night, favorite playlist on, and realizing you can shape your brows yourself. No harsh lighting, no salon chatter, just you, a mirror, and a tiny brush. Home brow lamination may sound technical, but the concept is simple: guide your brow hairs to lie in a direction that makes them appear fuller and more defined. You’re not redrawing brows—you’re helping your natural shape shine. Once you understand the process—soften, shape, set, nourish—it becomes less intimidating and more of a relaxing ritual.
Prepping Your Tools: A Simple Brow Ritual
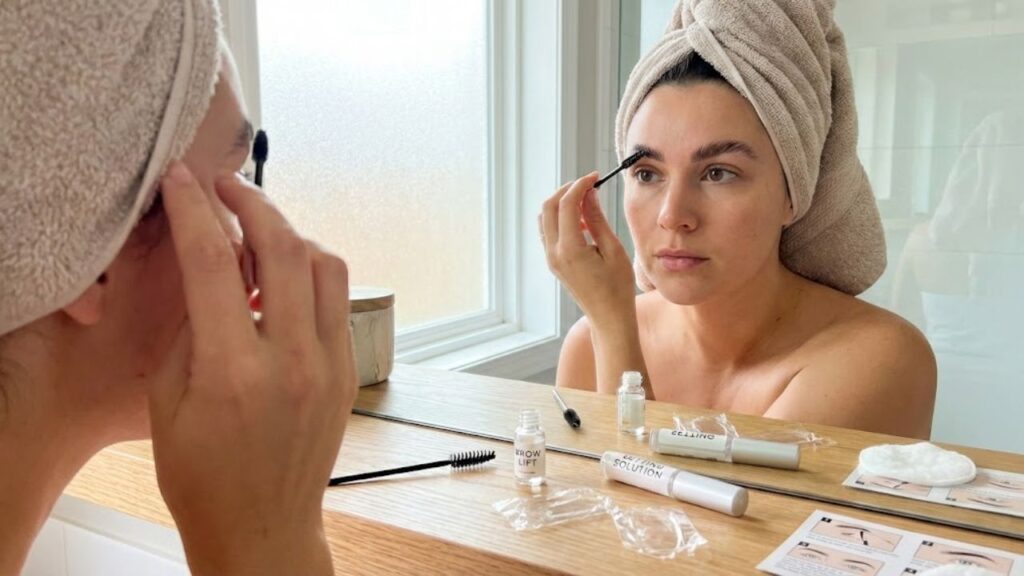
Start by clearing your space—wipe down the counter and gather your tools like you’re prepping a meal. Whether you’re using a ready-made lamination kit or a few gentle alternatives like lash lift products or mild hair solutions, lay them out in order. The goal is a gentle, minimal approach. With your tools ready, the process feels more like brushing your teeth with extra care than a beauty overhaul.

| Item Name | Why It’s Used | Best Practice Tips |
|---|---|---|
| Soft Facial Cleanser | Cleanses skin and removes excess oil or makeup | Opt for a mild, soap-free cleanser, especially for delicate skin types |
| Brow Spoolie | Helps align and style eyebrow hairs | A washed mascara brush can be reused as an effective alternative |
| Brow Lamination Formula | Relaxes brow hairs for easy reshaping | Always perform a patch test at least 24 hours before application |
| Fixing or Setting Solution | Holds brows in the desired position | Use a light layer—excess product can weigh brows down |
| Hydrating Oil or Serum | Nourishes brow hair and surrounding skin | Apply castor oil or a lightweight brow serum overnight for best results |
Slow Steps to Naturally Defined Brows
Take your time with your first attempt. Notice the small details—how the water feels, the sound of your fingers brushing your skin, the spoolie gliding through your brows. This is both a beauty routine and a moment of calm.

1. Start With a Clean Surface
Your brows collect sunscreen, oils, makeup, and dirt throughout the day. Begin with a fragrance-free cleanser, rinse with lukewarm water, and gently pat dry. Use a cotton pad for any leftover residue. When clean, each brow hair lifts naturally, ready for shaping.
2. Understand Your Brow Growth
Use a clean spoolie to brush brows upward and take note of their natural direction. Some hairs stand up, some lie flat, others stick sideways. Identify sparse areas or thinning tails. This understanding will guide your shaping choices.
3. Soften the Hair With a Lifting Solution
Apply a small amount of lamination solution using a micro brush or cotton swab—focus only on the hair, not the skin. This is like softening clay—it makes the hair moldable. Brush upward and slightly outward. Let it sit for the time specified in your product’s instructions. For finer brows, shorter processing time is best.
4. Shape With Gentle Intention
Use a clean spoolie to sculpt your brows. Brush the front hairs upward for fullness, angle the tails toward the temples. Don’t chase perfect symmetry; aim for a shape that feels natural to your face. Remember: enhancement over imitation.

5. Lock It In With a Setting Formula
After wiping away the lifting solution, apply a neutralizer or setting lotion. Brush the brows again into your desired shape. Use the spoolie tip to press down any unruly hairs. Once set, remove any leftover product. You’ll likely see your brows looking more lifted and defined than before—without makeup.
The First Few Days After Lamination
Freshly laminated brows might feel like a new haircut. They’ll look bold at first, but by day two or three, as natural oils return, the result softens. For best results, avoid water, steam, and heavy creams for 24 hours. After that, your morning routine becomes easier—just a quick spoolie brush-through is often all you need. Your natural features do the work.
Maintaining Your Brows: Gentle Care Matters
To keep brows looking full, treat them like a garden. Apply a small amount of castor oil or brow serum at night, massaging it in gently. This boosts hair health and blood flow. Avoid over-tweezing—stray hairs often add to the natural, lush appearance. Only remove the obvious outliers. Let the rest be.
Finding Your Own Brow Care Rhythm
Over time, you’ll notice a rhythm. Some people repeat the lamination every 6 to 8 weeks, syncing it with other rituals like deep conditioning hair or reorganizing a drawer. Others prefer lighter versions more often, using less intense formulas and daily nourishment instead. Your brows will go through phases of fullness and growth. Watch for the signs—when hairs droop midday or feel untamed, it may be time for a refresh.

The beauty of home lamination is learning to read your own face. You understand what works, how long to process, and how to gently guide your natural brow shape. You become your own brow expert—not chasing trends, but responding to your reflection with quiet confidence.