That moment of realizing your eyebrows are thinning often catches you off guard—maybe in harsh bathroom lighting or while scrolling through selfies where your eyes look less defined. You start noticing sparse outer edges, fading arches, and the brow pencil no longer creates the shape you want. That’s usually when the thought of salon brow lamination enters your mind. But then the ideas of appointments, expenses, commuting, and strong chemical odors follow. So you close the tab, rinse your face, and wonder—is there a better, easier option?
The Quiet Confidence of DIY Brow Shaping
There’s a unique peace in sitting down at your bathroom counter late at night, soft music playing, fan humming, and realizing you can reshape your brows with just a few thoughtful steps. No bright lights, no chatter—just you, a mirror, and a brush. Though at-home brow lamination may sound intimidating, the idea is simple: you’re guiding your natural brows into a fuller, more polished shape. Strip away the jargon and you’re left with four clear steps: soften, shape, set, and nourish. Once you understand the rhythm, it becomes more of a soothing ritual than a complicated treatment.
Setting Up a Calm and Simple Brow Station
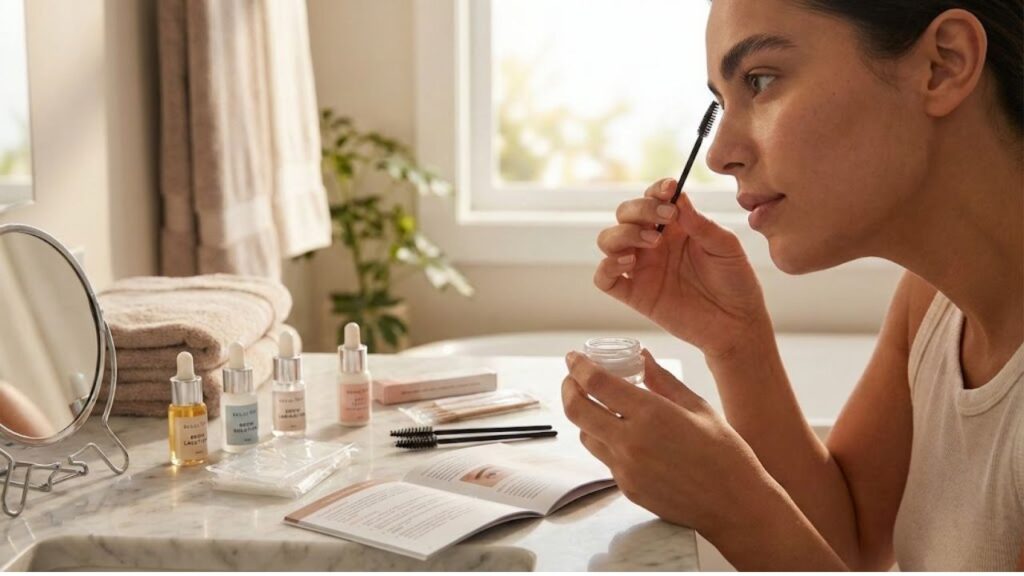
Before beginning, clear a small area on the counter and arrange your tools in order. This tiny act brings calm and focus. You don’t need a long list of products. Some choose complete kits; others prefer gentle, eye-safe alternatives. Regardless of method, two things matter most: minimal product use and choosing the gentlest option available.

Essential Brow Lamination Tools
- Gentle facial cleanser – Removes oil, makeup, and residue
- Brow spoolie – Or a clean mascara wand for brushing hairs
- Lamination formula – Softens hair for reshaping
- Setting solution – Locks the new shape in place
- Nourishing oil or serum – Conditions brows after treatment
Standing in front of the mirror with these tools doesn’t feel like a cosmetic task—it feels like intentional self-care. You’re not aiming for perfection, just discovering how your brows naturally grow and encouraging their best shape.

A Calming Step-by-Step Brow Lamination Guide
Your first session should be slow and deliberate. Notice the cool water, the soft drag of the spoolie, and the quiet focus that fills the room. This process is about care as much as it is about outcome.
1. Begin With a Clean Surface
Brows collect product and oil. Use a fragrance-free cleanser, rinse with lukewarm water, and pat dry. A cotton pad ensures no residue remains. Clean brows allow each hair to stand independently, making shaping easier.
2. Observe How Your Brows Naturally Grow
Before using any product, brush brows upward with a spoolie and observe. Some hairs point up, others to the side, and some lie flat. Take note of thin areas or uneven arches. This insight will shape your decisions.
3. Apply the Softening Solution with Care
Use a micro brush or cotton swab to apply a small amount of lamination solution directly to the hairs, avoiding the skin. This is like softening clay before sculpting. Brush upward and outward, then let it sit for the suggested time—shorter for fine hairs.
4. Shape with Intention, Not Perfection
After softening, use a clean spoolie to shape. Brush the inner brows up, angle the tails out. Symmetry is not necessary—natural brows aren’t identical. Aim for balance that enhances your features, not a perfect match.
5. Set the Shape in Place
Wipe away excess softener and apply a thin layer of setting solution. Comb again and press down any stubborn hairs. Once done, remove all residue. The result is immediate: brows look fuller, more lifted, yet still natural.
What to Expect After Lamination
Right after lamination, your brows might feel like a big change—like a fresh haircut. Let them settle. As natural oils return, the look softens. For the first 24 hours, avoid water, steam, or rich creams near the brows. By day two, the routine usually simplifies. A quick brush is often enough to restore shape and polish.
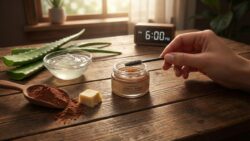
Nourishing Your Brows for Long-Term Health
To keep brows looking their best, treat them gently. Apply a few drops of nourishing oil each night—castor oil works well—and massage in the direction of growth. This strengthens the hairs and supports the follicles underneath. Avoid over-plucking. Remove only clear outliers and preserve natural density.

Creating Your Personal Brow Routine
With time, you’ll find what rhythm suits you. Some prefer laminating every 6–8 weeks, linking it with quiet rituals. Others choose gentler upkeep more frequently. Let your brows guide you. Doing this at home increases awareness: what your skin tolerates, how long to process, and where your natural arch feels right. Instead of chasing trends, you simply respond to what you see in the mirror, learning to shape your features with growing confidence.