From afar, a face can look perfectly made up—with neatly shaped eyebrows, defined eyeliner, and glossy lips. But once natural light hits, poor blush placement becomes obvious. One common issue is blush applied too close to the nose. This placement may seem fine in indoor mirrors but often results in a face that appears smaller, more crowded, and less balanced in daylight or photographs. Just a difference of two centimeters can shift your entire facial impression—from fresh and healthy to compressed and tired.
How Close-in Blush Alters Your Face Structure
When blush is placed near the nostrils or inner cheek area, it draws attention to the center of your face and makes it appear narrower and strained. Instead of enhancing cheekbones or eyes, this placement drags features inward and flattens the overall appearance. From a distance or in photos, blush close to the nose can blend with natural redness, making the skin appear more flushed or puffy than intended. Cameras often sharpen contrast, turning subtle color into harsh blocks of pigment, especially under studio or office lighting. Makeup professionals warn of a “danger zone” around the nose where color can make you look exhausted instead of vibrant.
Smart Blush Techniques to Lift and Define Your Face
To avoid crowding the face, follow this method:

- Draw an imaginary vertical line straight down from the center of your eye—blush should stay outside this boundary.
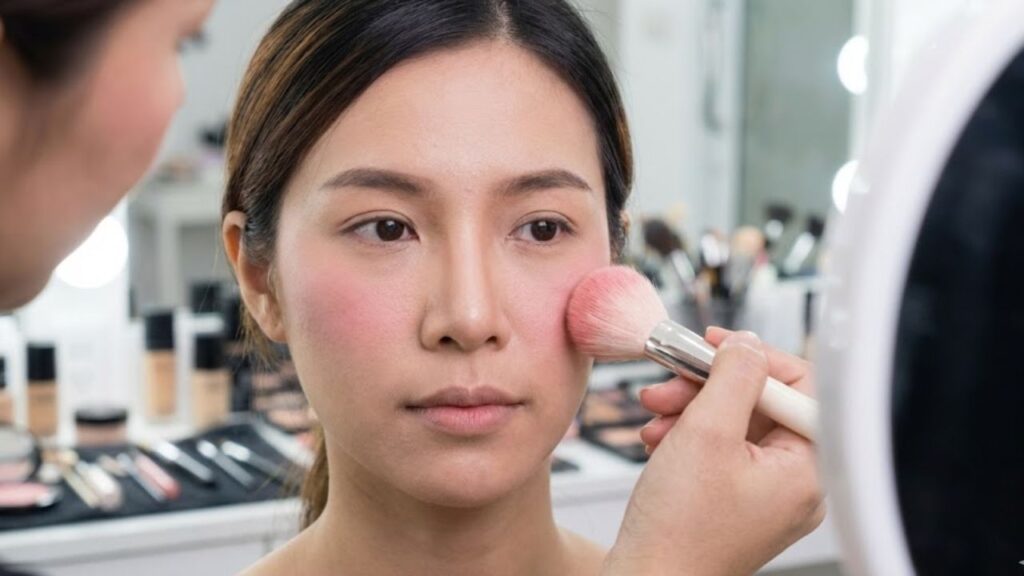
- Smile softly and place your brush on the natural curve of your cheek, then blend upward toward the top of your ear in a comma shape.
- Use light layers—it’s easier to build color than fix over-application.
- Leave at least a finger-width gap between the blush and the side of your nose.
Many apply blush too inward by focusing too literally on the “apples of the cheeks.” This creates issues depending on face shape: it can make round faces look puffier and angular faces appear harsher. On textured or porous skin, blush near the nose can settle into fine lines. In most cases, the issue isn’t the amount of product—but where it begins.

Visual Tips for Foolproof Blush Application
- Leave one finger’s width of clear skin between the nose and the blush.
- Angle your brush upward instead of straight across your cheek.
- Wipe off excess product before applying to avoid over-concentration near the nose.
- Focus blending on the outer edge of your cheek, not the inner edge.
- Check your work from a distance—step back and look at your face from arm’s length away.
These quick references help maintain natural balance, whether you’re using a budget cream stick or a premium powder compact. Most people don’t have time for extensive blending routines every day—so simple, visual boundaries are key.
Choosing a Blush Style That Matches Your Face and Intent
There’s no universal rule for blush placement. It depends on the look you want to achieve. Some prefer a central blush style that mimics a youthful flush or cold-weather glow. Others like a high, outer-blend that subtly enhances cheekbones and elongates the face. The important part is understanding the effect of placement, so your choice is intentional rather than habitual.
 A new banana peel trick is spreading fast : just bake them for 30 minutes and the problem is solved
Try this test:
- Apply blush on one side closer to the nose, as you normally do.
- On the other side, place it slightly higher and further out toward the temple.
- Take a photo in natural daylight and compare both sides.
Look closely—which side makes your eyes pop? Which one blends your features naturally without making your nose the center of attention? Ask a friend what they notice first. This exercise isn’t about flaw-finding—it’s about discovering how color guides attention on your face.
 Boiling lemon peel, cinnamon and ginger : why people recommend it and what it’s really for
Small Placement Tweaks That Transform Your Look
Once you recognize how blush near the nose alters your facial balance, you can fine-tune your makeup to highlight your best features. Whether your goal is soft and romantic or bold and trendy, it all starts with knowing where to place your color. A slight outward shift in blush placement can completely change your photos and how you feel throughout the day. It’s not about hiding anything—just about choosing what you want people to notice first.

| Key Focus Area | Updated Guidance | Why It Matters |
|---|---|---|
| Space Near the Nose | Keep a narrow section of bare skin between the nose and blush placement | Avoids a congested center and maintains natural facial balance |
| Blush Positioning Rule | Stop application before reaching the vertical line below the eye’s center | Creates a lifted effect rather than a weighed-down or puffy look |
| Blending Direction | Diffuse color outward and gently upward toward the temples | Visually opens the face, defines cheekbones, and looks flattering on camera |